Here comes Christmas holidays!
It feels great to look out the window and see all the decorations that my neighbors have put up on their houses.
It makes me feel all warm and cozy:))
I know it's not Christmas yet, and it's not the holidays yet either, but I wanted to celebrate the first of December with something holiday-ey!
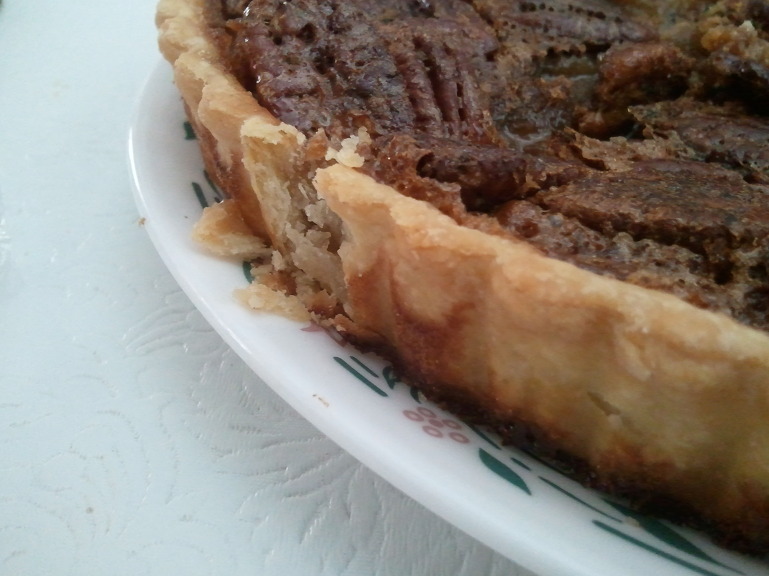
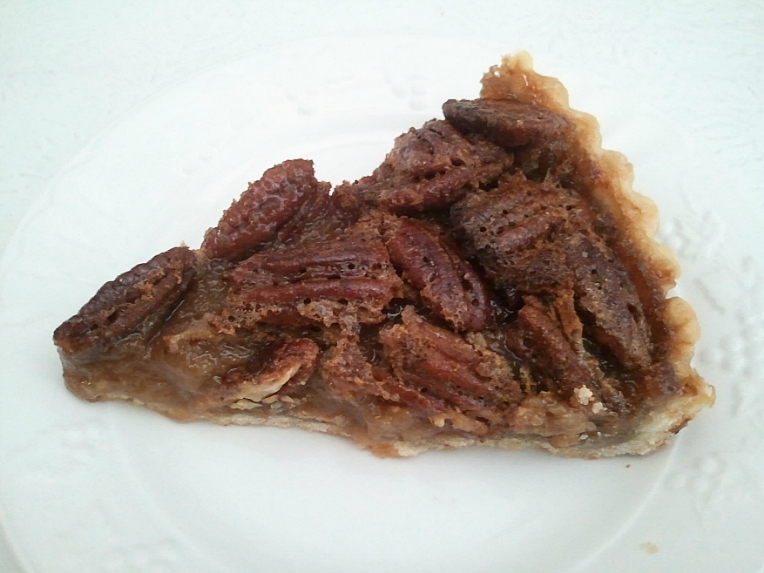
I've never made a pecan pie before, but I've always wanted to try one, so I whipped up my favorite pie crust recipe and filled it with sweet, gooey, crunchy, nutty, indulgent pecan filling... YUM!
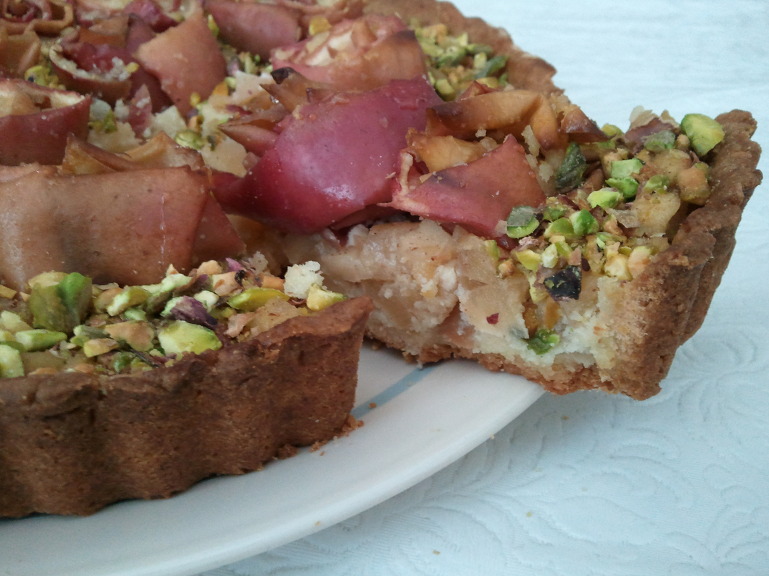
I had a problem with some filling being left over, but that's probably because I used a tart pan instead of a pie pan(which I sadly didn't have). But no worries! I simply baked the rest in some crushed graham crackers and called it an individual pecan pie:)
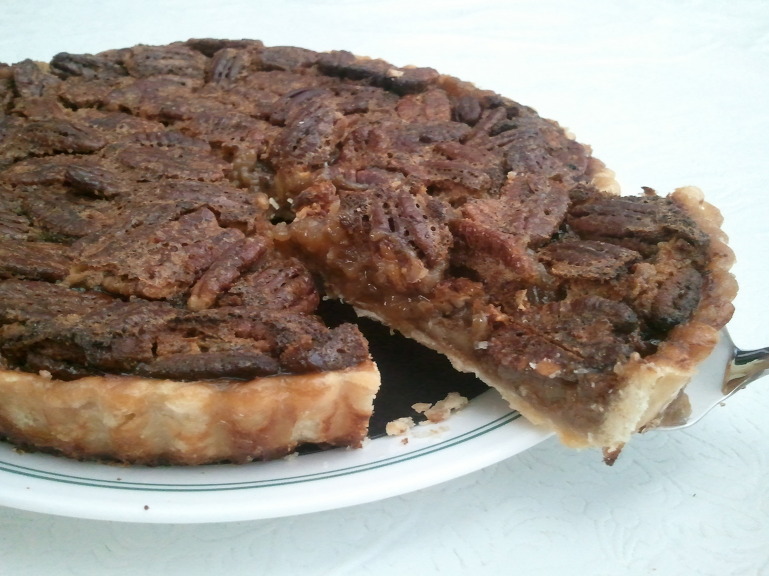
Golden Pecan Pie (Pecan Tart)
makes one 9-inch pie
Recipe from Pillsbury: Best Desserts
Ingredients:
For the Crust:
1 cup all purpose flour
1/2 teaspoon salt
1/3 cup cold shortening
2 to 4 tablespoons ice water
For the Filling:
1/3 cup firmly packed brown sugar
1 1/2 teaspoons all purpose flour
1 1/4 cups light corn syrup*
1 teaspoons vanilla extract
3 eggs
1 1/2 cup pecan halves
2 tablespoon margarine or butter, melted
Directions:
For the Crust:
In a medium bowl, combine flour and salt; mix well. With a pastry blender or two knives, cut in the cold shortening until it resembles coarse crumbs. Sprinkle with 1 tablespoon of ice water at a time, mixing lightly with a fork. Add water until the dough is just moist enough to form a ball when lightly pressed together. Shape into a ball and flatten to a 1/2-inch thickness. On a floured surface, roll into a 11-inch circle, using gentle, light strokes from center to edge. Do not roll back and forth, or else it will become tough! Roll up the circle onto the rolling pin, place it just above the pie pan, and roll it off to place it on the pan. Gently press in the bottom and up the sides with fingertips. Do not stretch. You can trim the edges and use the scraps to fill in any holes.
For the Filling:
Preheat oven to 375F.
In a large bowl, combine brown sugar, flour, corn syrup, vanilla dna eggs; beat well. Stir in pecans and margarine/butter. Pour into pan lined with the crust.
Bake for 40 to 50 minutes or until the filling is puffed and the crust is golden brown. Let it cool completely, then store in the refrigerator.
Notes:
*I found this a little too sweet, so I would reduce the corn syrup to 1/2 cup (8 tablespoons) OR reduce the brown sugar to 1 tablespoon. But then again, I don't even eat the icing on cupcakes because it's too sweet.