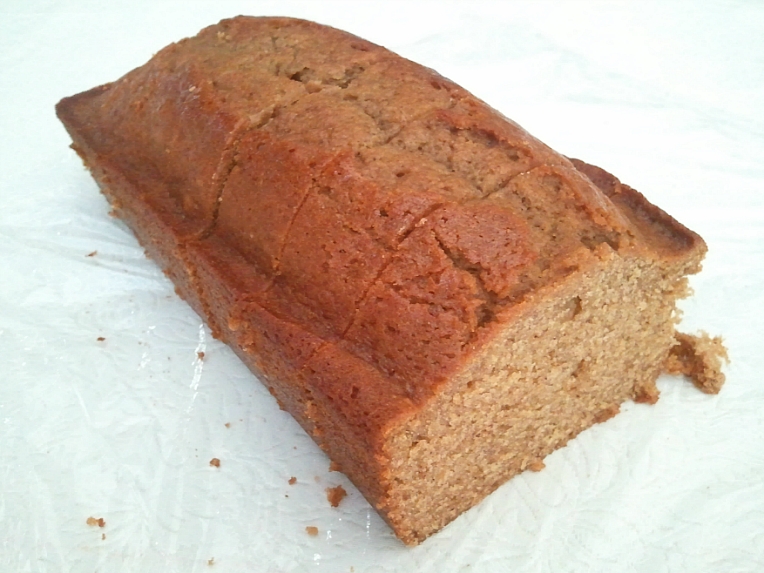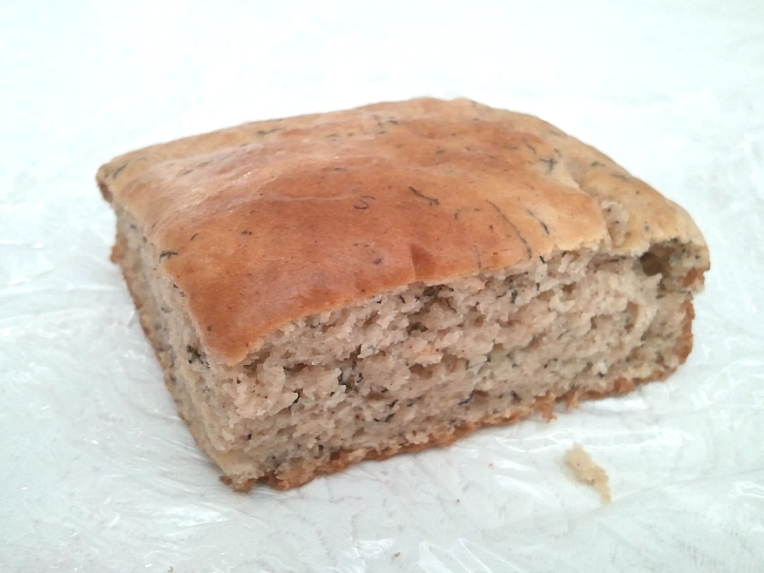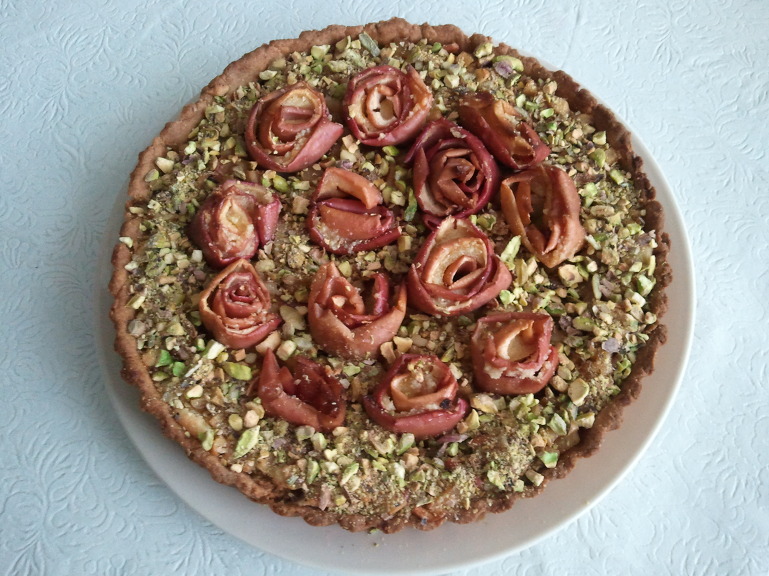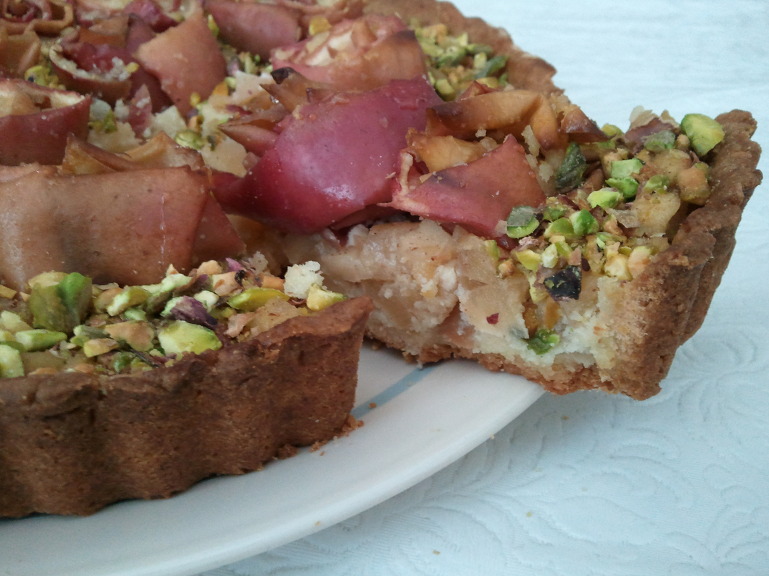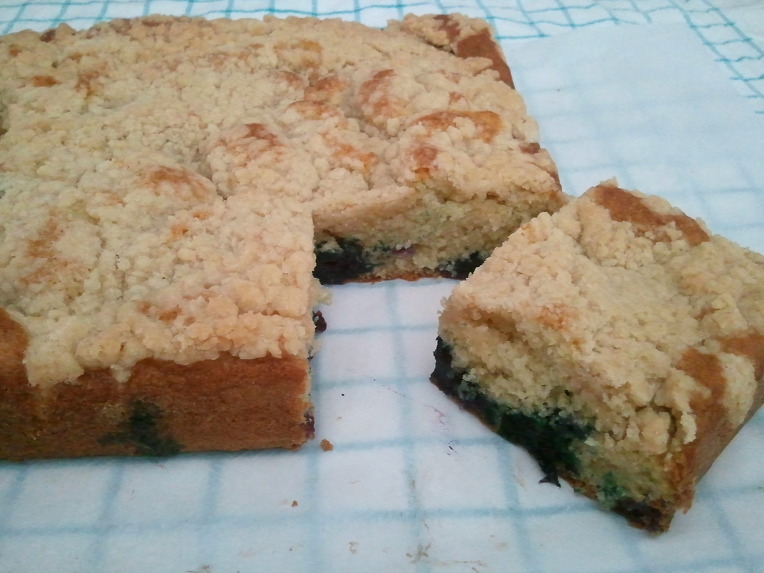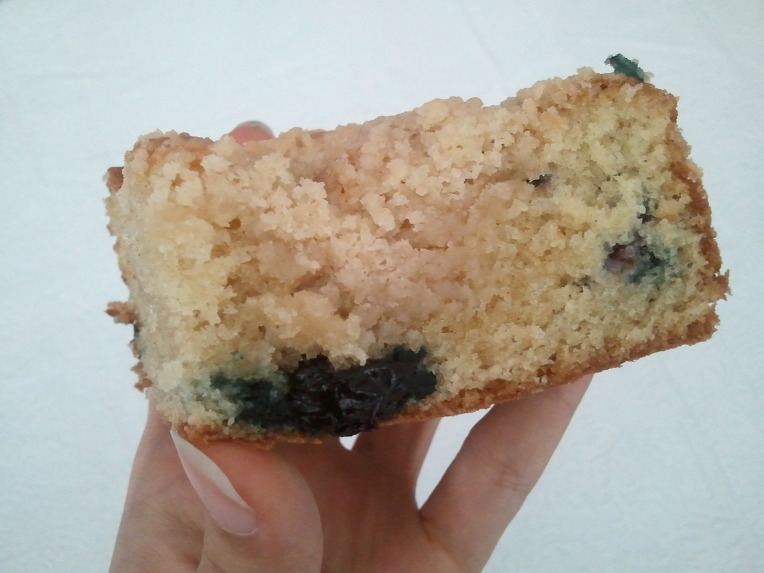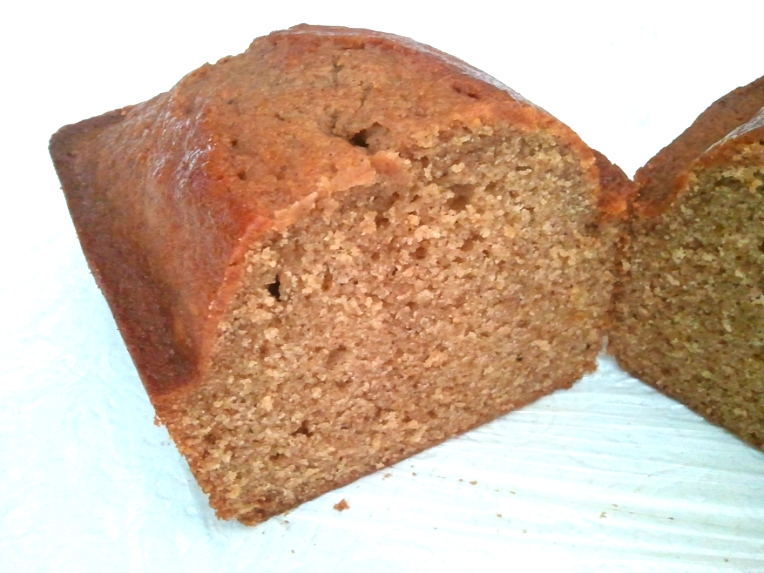
Here's a super moist cake for you all.
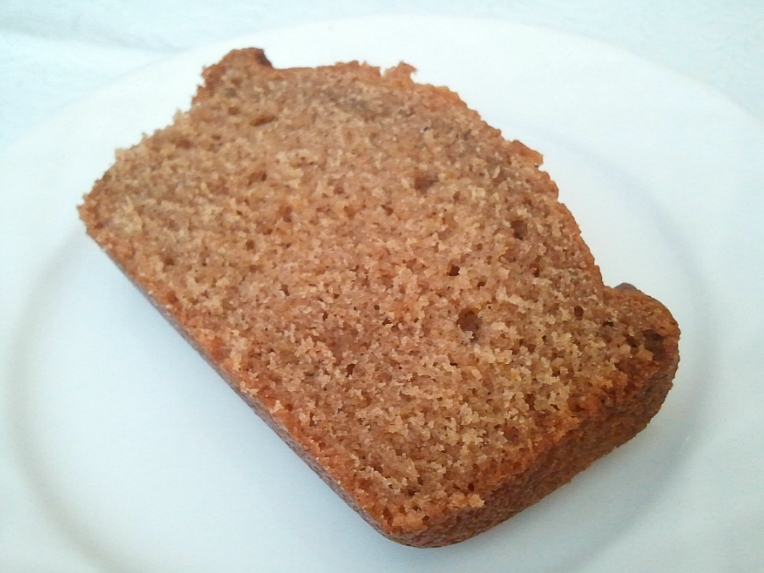
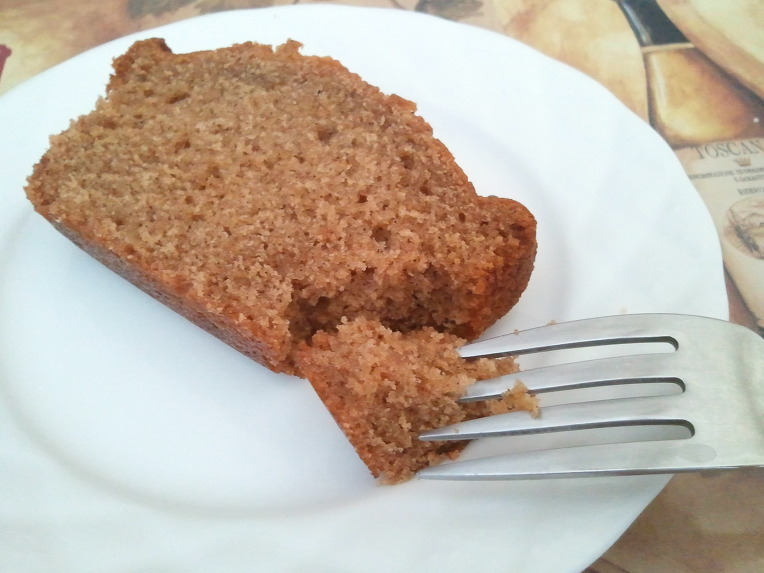
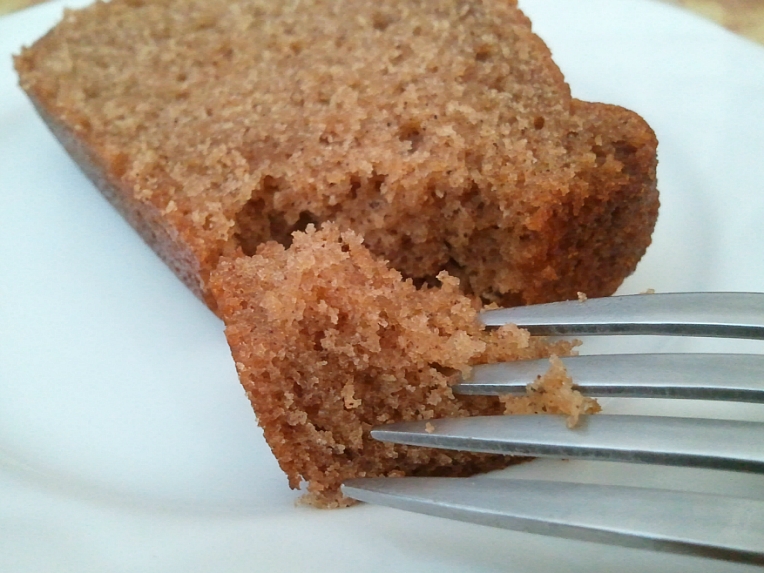
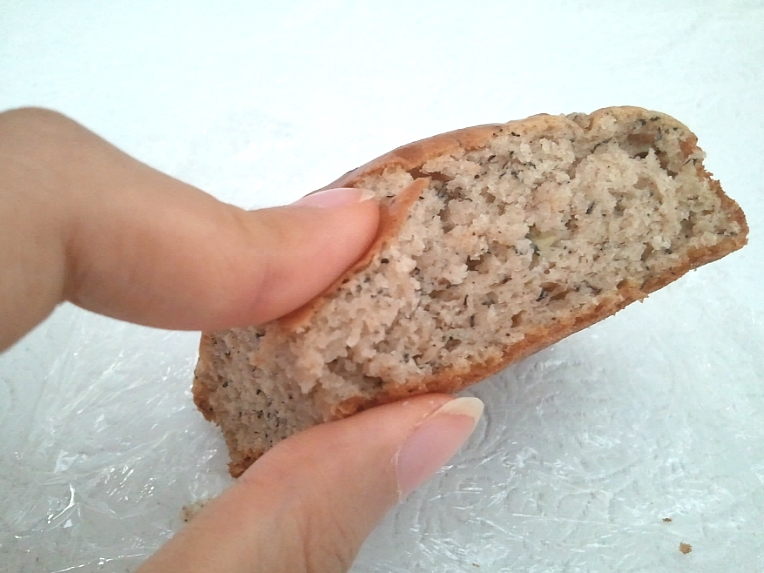
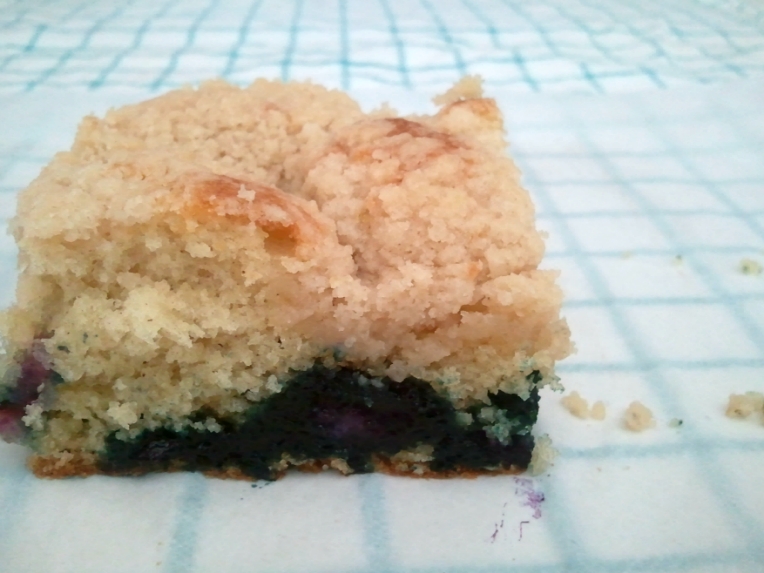
It's actually a quick bread, but it is extra moist and tender, almost like a cupcake:)
As soon as I saw this recipe, I knew I had to make it.
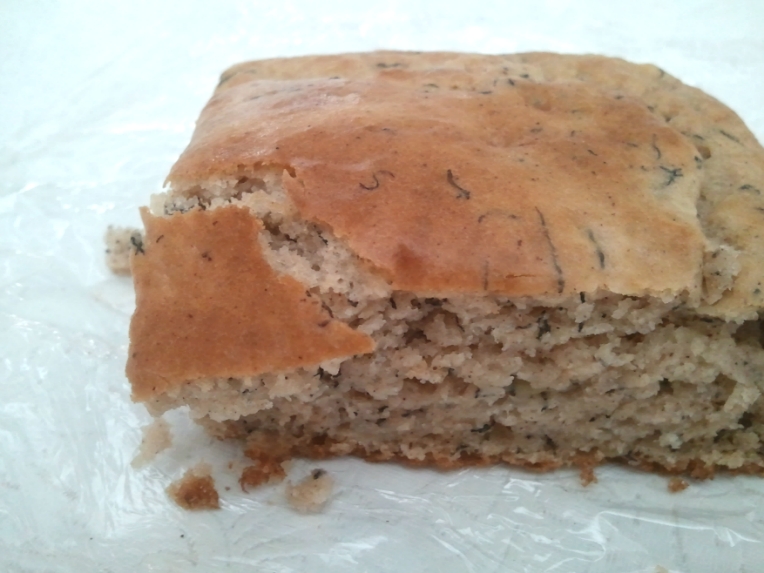
It's not the prettiest thing in the world, but I can tell you that you'll want to bake it over and over again!
Basically, it's a spice cake, but with a surprise of a distinctive honey flavor.
The honey taste is definitely there, which is perfect for me because I adore honey.
I was planning to have these with a drizzle of honey, but I don't even think that was necessary!
These are perfect for breakfast, a quick snack, or even as a dessert.
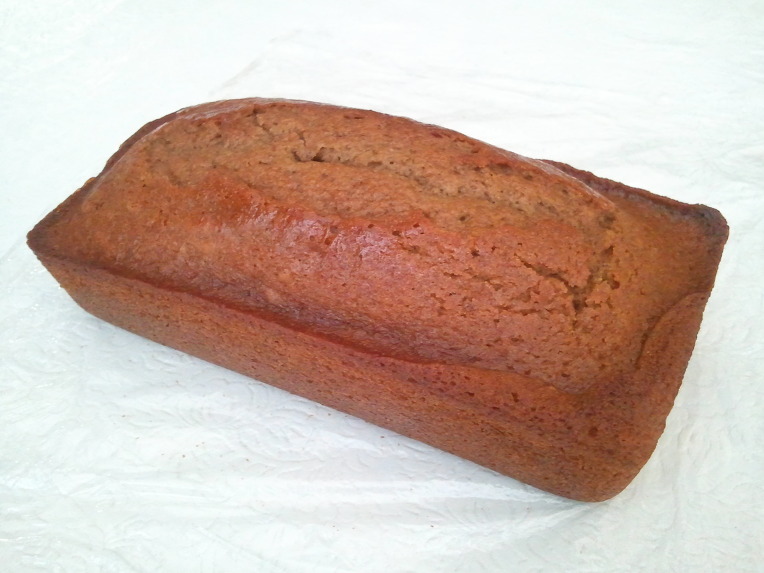
Super Moist Honey Cake
makes one 9x5" loaf
Recipe adapted from SmittenKitchen
Ingredients*
1 cup plus 2 1/2 tablespoons all purpose flour
1 teaspoon baking powder
1/3 teaspoon baking soda
1/6 teaspoon salt
2 teaspoons cinnamon
1/6 teaspoon ground cloves
1/6 teaspoons ground nutmeg
1/3 cup olive oil
1/3 cup honey
1/2 cup granulated sugar
1/6 cup (2 tablespoons plus 2 teaspoons) brown sugar
1 egg, room temperature
1/3 teaspoon vanilla extract
1/3 cup warm coffee
1/6 cup (2 tablespoons plus 2 teaspoons) fresh orange juice
1 tablespoon plus 1 teaspoon rye or whiskey ( I just used water - worked fine!)
Directions:
Preheat oven to 350F.
Generously grease 9x5" loaf pan with baking spray.
In a medium bowl, combine the flour, baking powder, baking soda, salt, cinnamon, cloves and nutmeg. Make a well in the center and add oil, honey, both the sugars, eggs, vanilla, coffee, orange juice, and ryr or whiskey (or water). I have learnt from this recipe that if you meaure the oil first, then the honey, the honey will slide out beautifully without leaving any sticky bits behind! With an electric mixer on low speed, stir together all the ingredients until well combined. Pour batter into the prepared pan. Bake until the cake springs back when you gently touch the center, about 45 to 55 minutes. Let the cake stand for 15 minutes before removing from pan.
*I know the ingredients measurements are a little strange, and that's because I divided the original recipe by three! If you want to, you can bake 3 loaves with the following amounts:
3 1/2 cups all purpose flour
1 tablespoon baking powder
1 teaspoon baking soda
1/2 teaspoon salt
4 teaspoons cinnamon
1/2 teaspoon ground cloves
1/2 teaspoon ground nutmeg
1 cup olive oil
1 cup honey
1 1/2 cups granulated sugar
1/2 cup brown sugar
3 eggs, room temperature
1 teaspoon vanilla extract
1/2 cup fresh orange juice
1/4 cup rye or whiskey